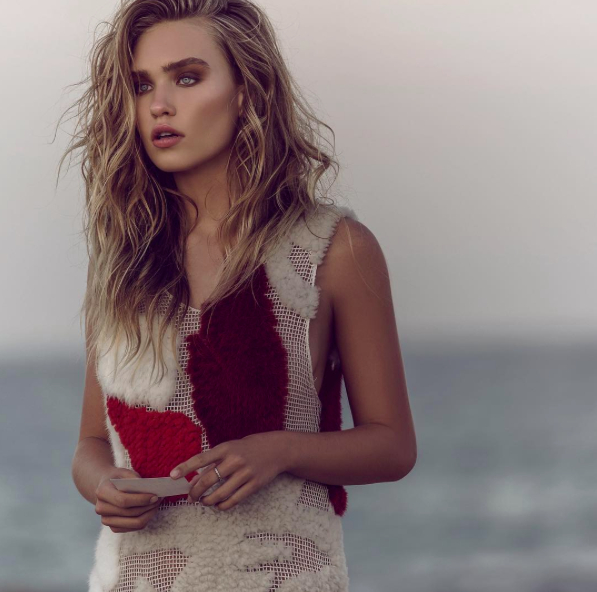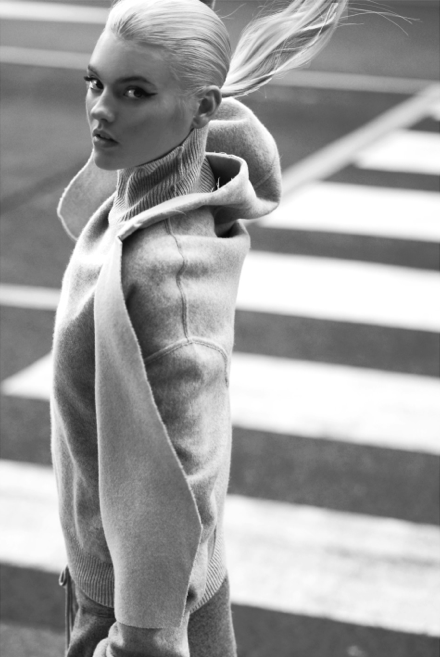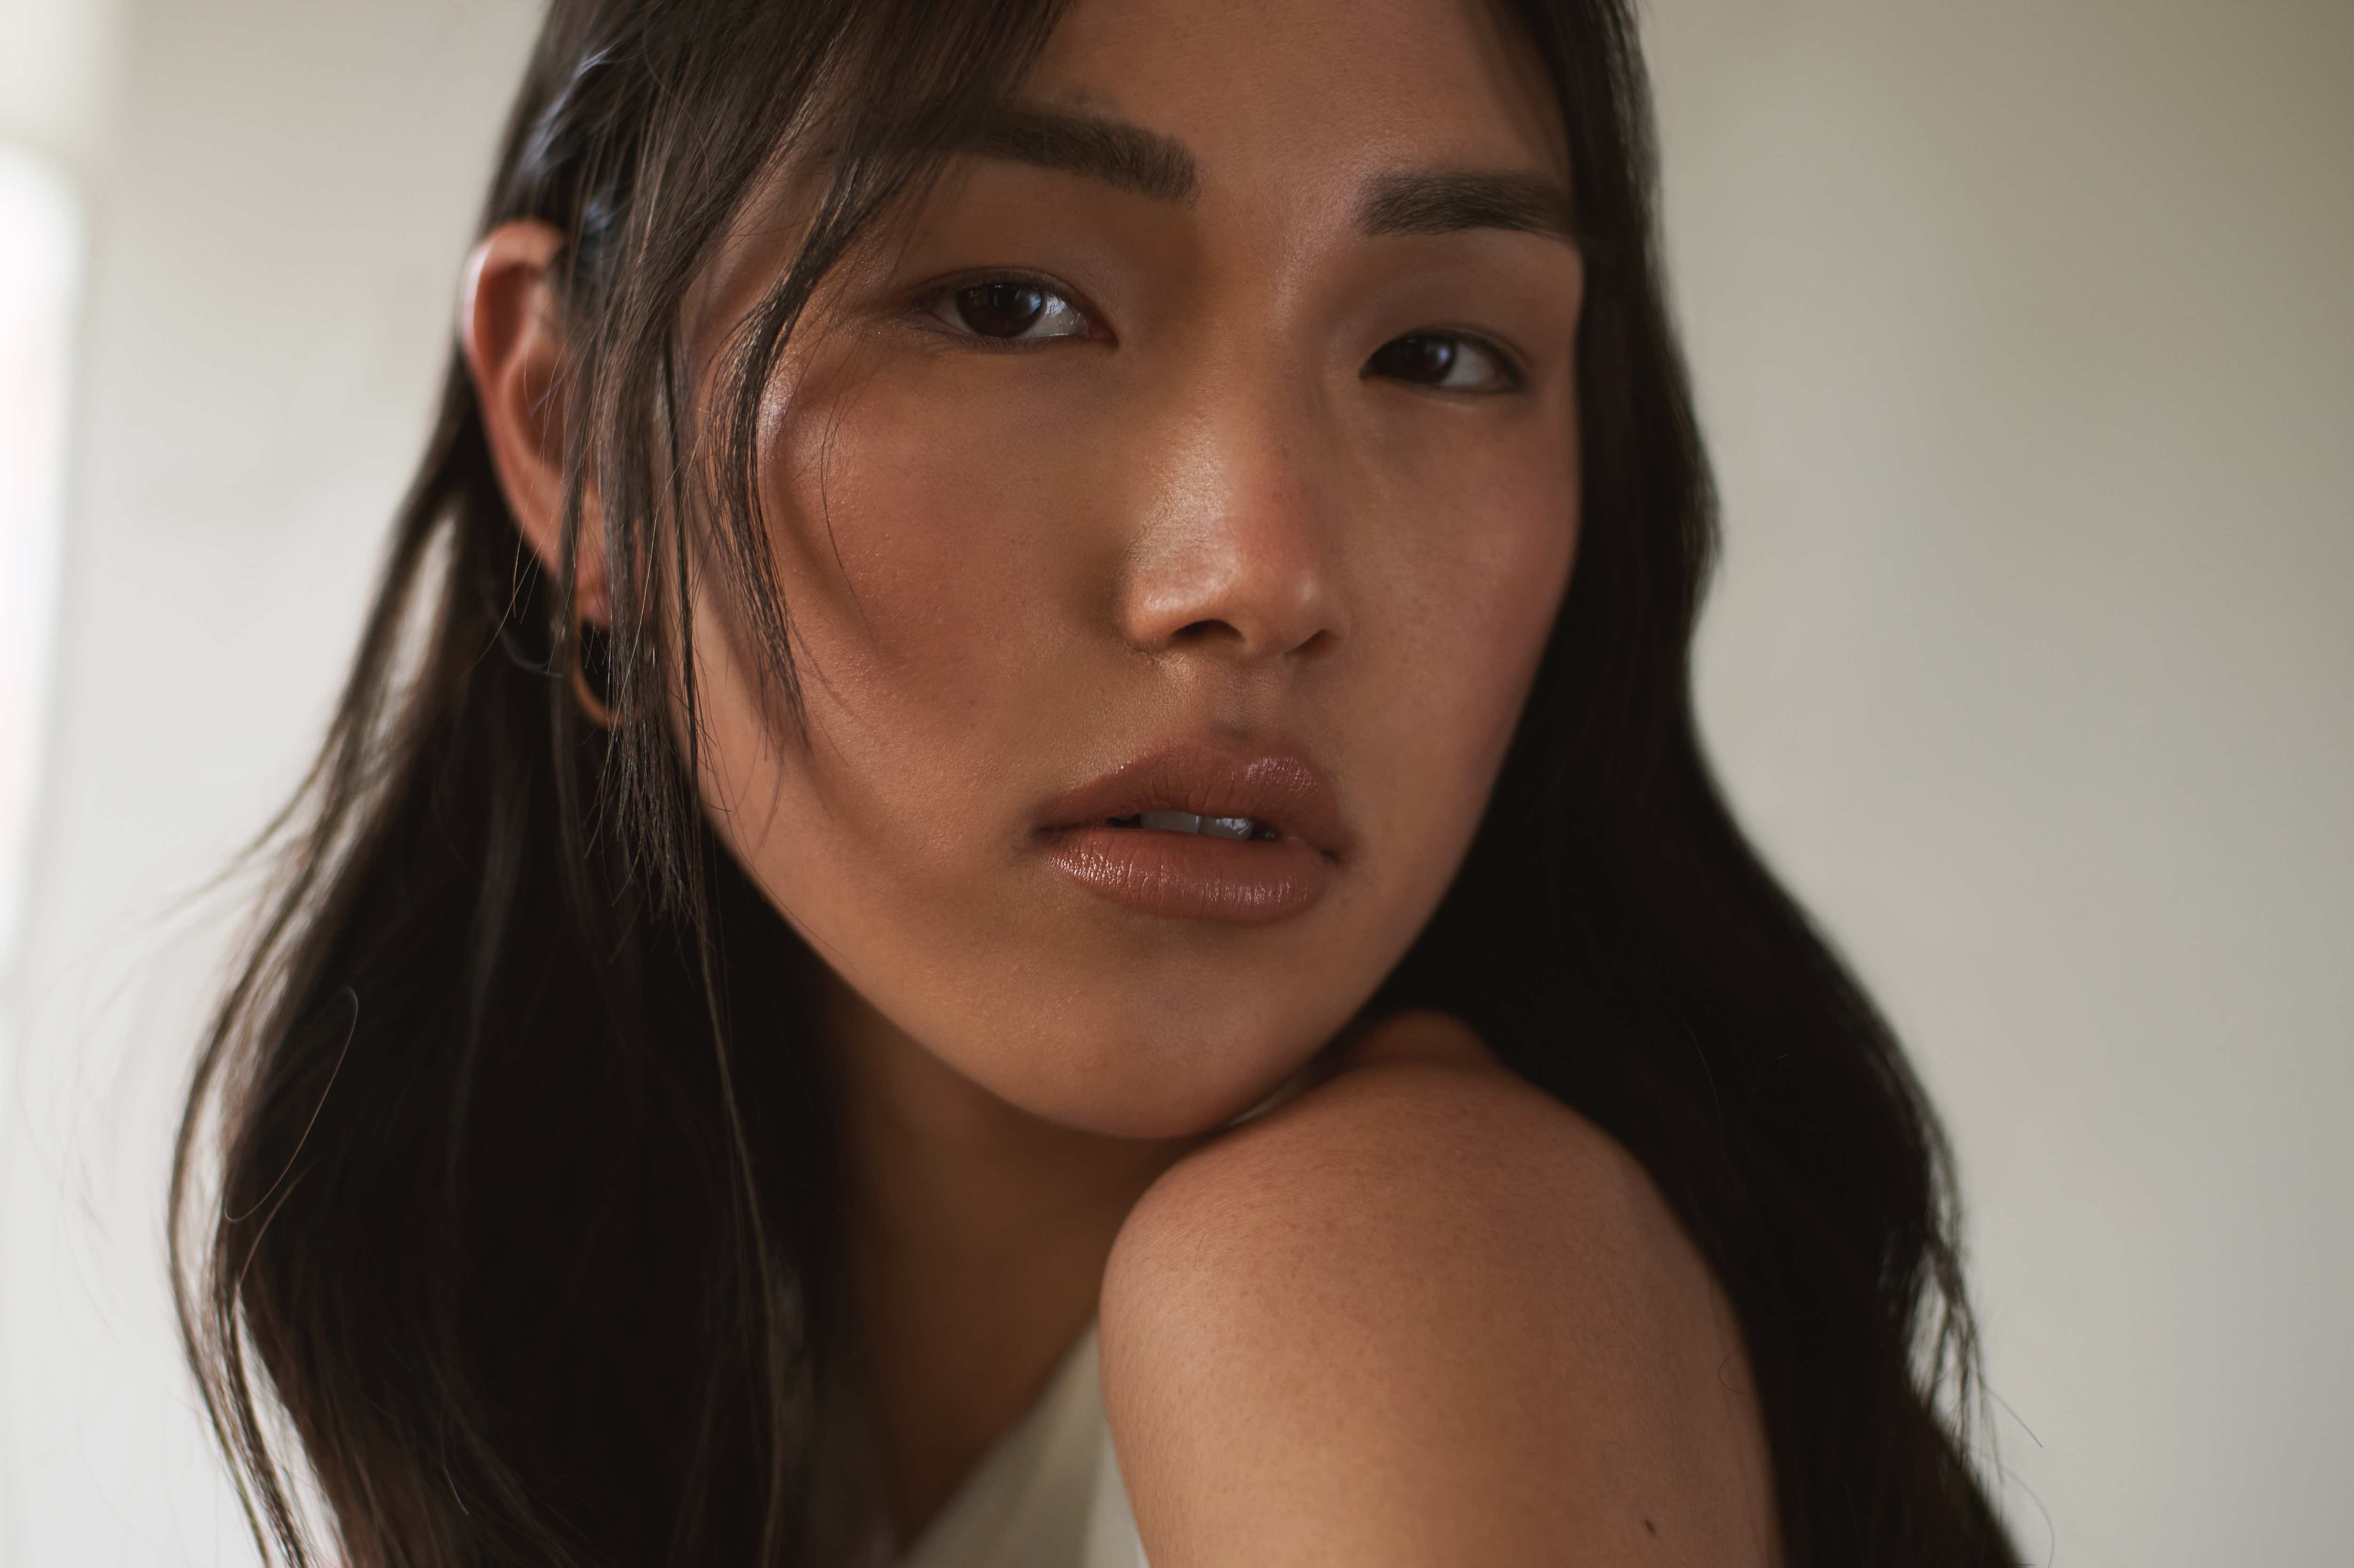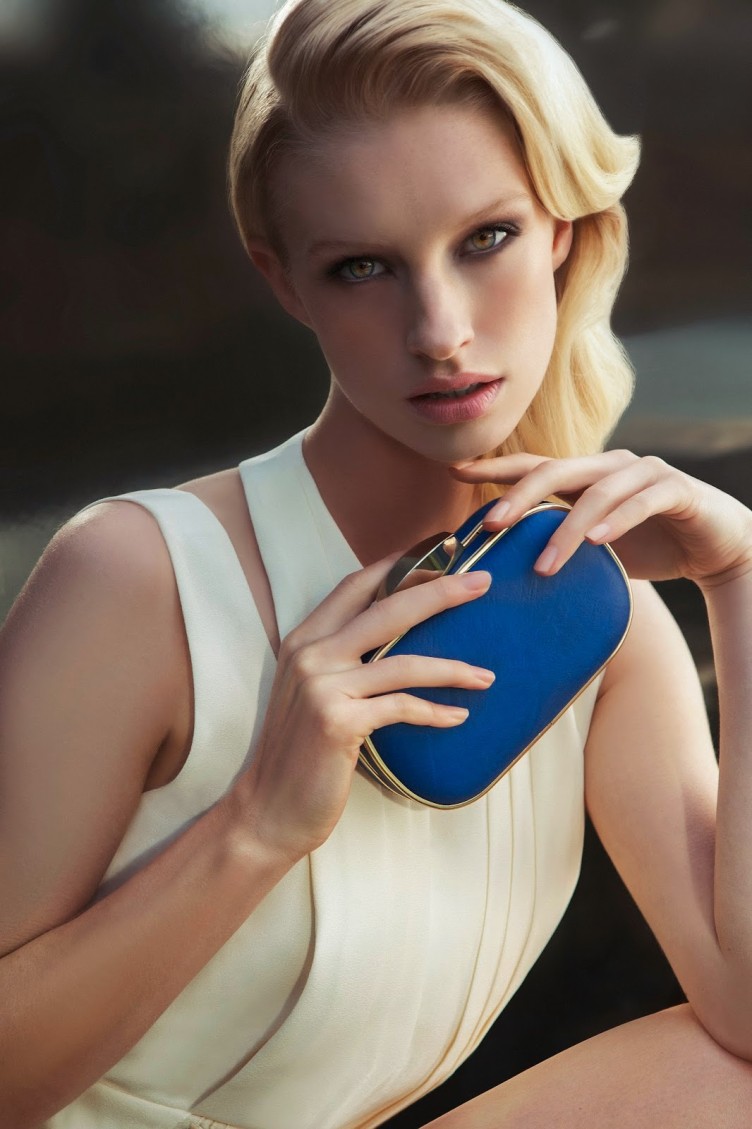
I recently wrote an article for Fashioning.com on how to recreate the smokey green eye and luminous skin I created for an editorial shoot with Melbourne photographer Ed Purnomo. A smokey green eye, highlighted skin and a mix of vintage inspired waves and a playful textured look for the hair.
Here’s How:
The colour pallet for the shoot was whites and pastels with colour popping through the accessories, so I wanted the makeup to compliment the theme, and not overwhelm Alice delicate features. I went for a Smokey green eye, illuminated skin and various hues of pinks for the lips.
In order to created healthy glowing skin its important to start with good skin care and prep the skin well.
1 – Skin – massage the skin for a few minutes using a good moisturiser, This stimulates blood flow, feeding the skin with essential nutrients and creating a healthy glow. I used Dermalogica’s Skin smoothing cream, you will find that by taking time to do this your foundation will sit better on your skin. Leave the skin for a moment to rest and apply a lip balm – I love Elizabeth Arden’s 8 hour crème.
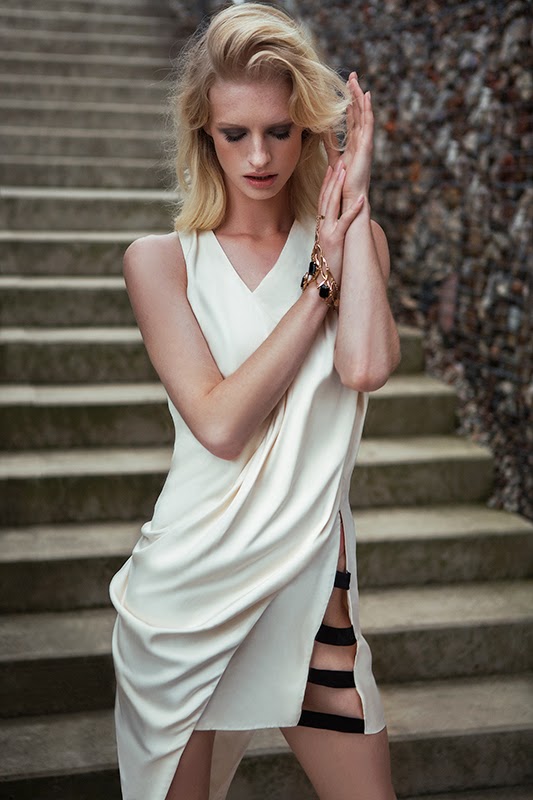
2- Prime Using your fingers, work a primer into the skin, a good primer will contain Silica or silicone which is a water-binding agent that keeps your makeup in place and also repels water and sweat. For the shoot I chose Dermalogica skin perfect primer, which soothes the skins surface and has Neutral tint helps balance tone and enhance luminosity and radiance. It also has a spf 30 – very important for shooting outdoors, but it doesn’t interfere with flash photography.
3 – Foundation – I used MAC’s face and body in C1 for Alice’s porcelain English rose skin, again using my hands to work the product in so it disappears, and then buffing over the skin using a dual fiber brush like MAC’s #188. I then spot concealed around the nose and under the eyes using MAC’s mineralise concealers which hydrate the skin and also reflect, brightening the skin.
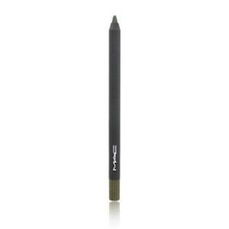
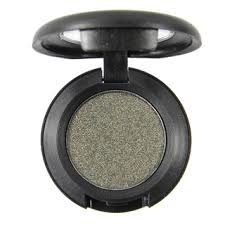
4 – Eyes – I always use a cream base for the eyes, it will ensure longevity of your eye shadow and prevent creasing. I used MAC’s paint pot in ‘Bare study’ which gives you shimmery, reflective base. I then lined the eyes, top and bottom lash line with MAC’s powerpoint eyeliner in ‘forever green’, softening the line with a small pencil brush like the #219 brush by MAC. Under the brow I used ‘Grain’ and on the lid I used ‘Green smoke’ both by MAC and blended the two together using small circular movements along the crease line. Using an angle brush apply ‘Greensmoke’ over the eyeliner on the bottom lash line, and then soften the line again with a pencil brush. I also use a white eyeliner along the waterline, which opens up the eyes giving a softer ethereal look.
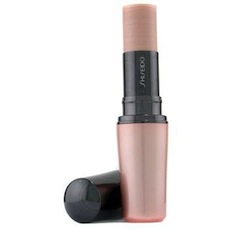
4 – Highlighter – I wanted to create a 3D effect on Alice’s skin, so I used quite a lot of highlighter – under the arch of the brow, across the center of the forehead, the cheekbones, down the bridge of the nose, the cupid bow and on the chin – for every day highlights – just highlight the cheekbones and cupids bow (the V above the top lip) for the shoot I used Shiseido – Accentuating Colour Stick In Glistening Flush.
5 – Blush – I used a crème blush by MAC in ‘So Sweet, So Easy’ which has undertones of yellow and pink – perfect for fair skin and buffed it onto the apples of the cheeks, sweeping upwards onto the cheekbone.
6 – Powder – I used a lot of crèmes for this look, and I wanted to keep the skin looking dewy so I only powdered very lightly using Mac prep and prime powder, on the forehead and chin.
7 – Contour – Continuing with the 3D effect, you need to contour the skin as well, I used MAC’s blot powder in Dark for subtle contouring, but you can use any matte bronzer or a pressed powder that is darker than your natural skin tone. Contour the temples, under the cheekbones, down either side of the nose & along the jawline.
8 – Lips – I chose a pastel pink lip for Alice and I pressed the colour onto the lips with a clean finger, creating more of a lip stain for a quick, fresh approach to lipstick. I used MAC’s Sheen supreme lipstick in Royal Azalea. Top with a clear gloss on the center of the lip only, to give the illusion of a fuller lip.
Eyelashes – Knot free individual lashes by Lash Republic
SMA xx
Photography // Ed Purnomo
Stylist // Giarne Wedes
Model // Alice @ London
Hair & Makeup // Nicola Johnson

